27 Mar How to print a label?
In our previous post called “How is a label produced? First steps” we explained the steps we take in Rieusset from the time the customer sends us the label until we engrave the three cylinders necessary for making it. In the process we will describe for you today, printing, we put the three cylinders in the printing press in order to print the label.
What elements do we need for printing?
- Printer
- Printing medium
- Ink
- Printing cylinders
1- Printer
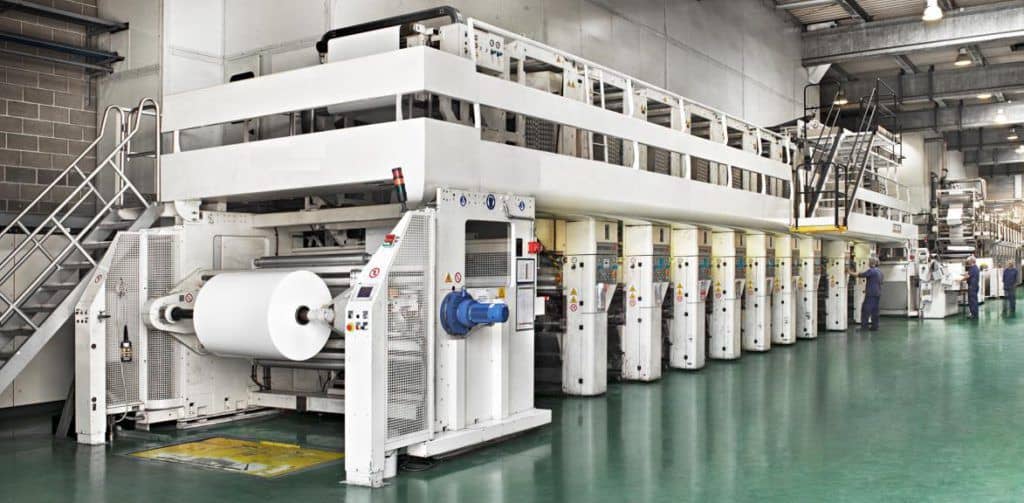
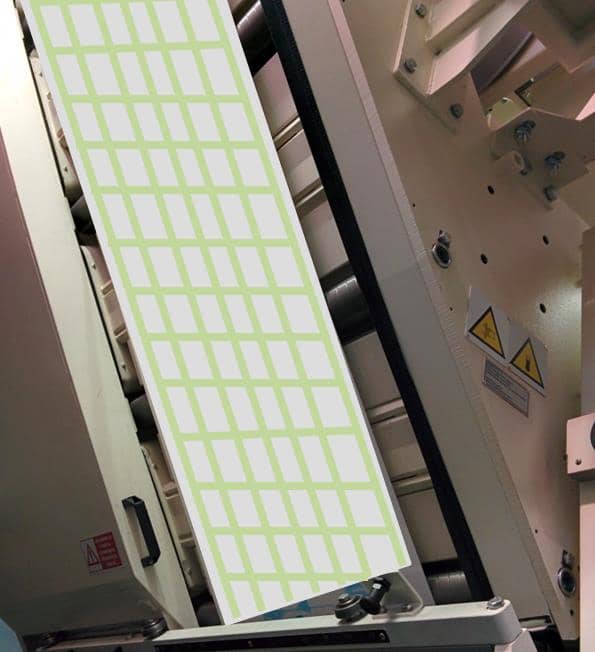
In Rieusset we print using the rotogravure technology. The machine is basically made up of an unwinder, the printing units where we print each color with their respective drying hoods, and a rewinder.
The length of the printer depends on the number of printing units. One of our printers has 10 printing units, which means that we can print up to 10 colors, and it is 40 meters long.
2- Printing medium
In this case we will be printing on paper but we can also print on other media such as polypropylene, PVC or PET, among others. Our suppliers provide us with rolls that are 1 meter in diameter, which is about 10.000 m of ready-to-print paper, and which can weigh up to 1.000 kg. Yes, yes, 1.000 kg, the same as the weight of a small car.
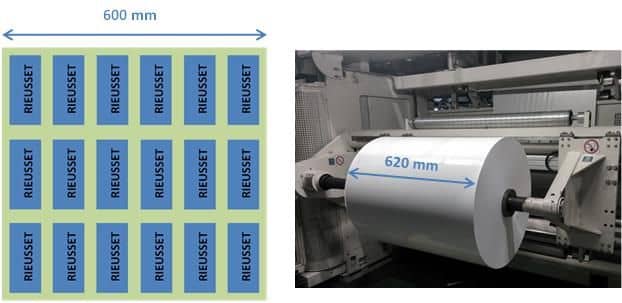
The width of the paper is determined by the total width of the printing. That is to say, if the printing has a width of 600 mm, the paper used will always be approximately 20 mm wider in order to incorporate crop marks. It must also not be any wider, in order to reduce scrap as much as posible.
3- Ink
The majority of inks we use are solvent based. For our label, since it has 3 colors, we shall use only 3 printing units where we will incorporate the ink in the corresponding ink wells:
- GREEN ink for the borders
- BLUE ink for the rectangles
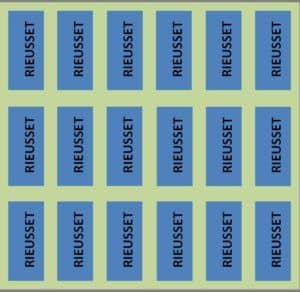
- BLACK ink for the word RIEUSSET
4- Printing cylinders
The three engraved cylinders are in charge of transferring the ink to the printing medium. These are mounted on shafts so that they may turn in each printing unit.
Now that we have the necessary 4 main elements, let’s print!:
-
- We insert a roll in the unwinder of the machine
- We turn on the machine and the paper roll begins to unwind.
- The paper moves along the rollers until it gets to the first printing unit.
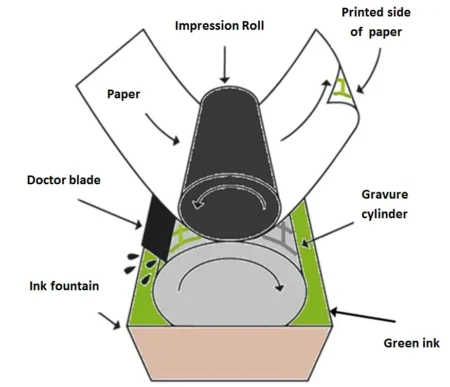
Graphic representation of what happens inside the printing unit
-
-
-
- The printing cylinder turns at the same speed as the paper and it is partially submerged in green ink inside the ink fountain. The cylinder turns in a clockwise direction and when it comes out of the ink fountain it is completely impregnated with ink.
- The doctor blade that is in contact with the cylinder removes the excess ink from the surface of the cylinder, leaving only the ink that is inside each cell.
- The green ink from the cells is transferred to the paper via the pressure roller. This exerts sufficient pressure to empty the cells of their ink. In more colloquial terms this would be like a sandwich where the pressure roller and the printing cylinder are the bread, and the paper is the ham.
-
-
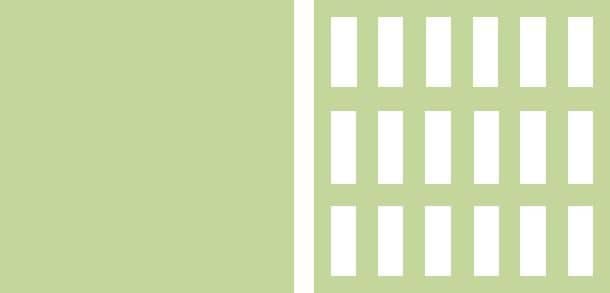
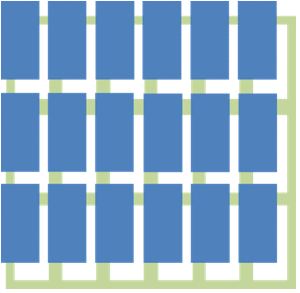
As we can see in the following images, if the doctor blade weren’t in contact with the cylinder, it would not clean the excess ink from the cylinder and the paper would end up being printed entirely green (image 1a). On the other hand, if the doctor blade is in correct contact with the cylinder, the green rectangles are printed perfectly (image 1b).
4. As the material comes out of the printing unit the ink is still wet and must be dried. Therefore, as soon as it leaves the unit, the paper goes through a vertical, 3-meter-long drying hood where dryers blow hot air that dries the ink in less than 1 second!
5. Once the ink is dry, the paper moves on to the second printing unit where the second color, blue, is printed.
Do you see anything strange in the above image? The printing is bad, right? It doesn’t match up!
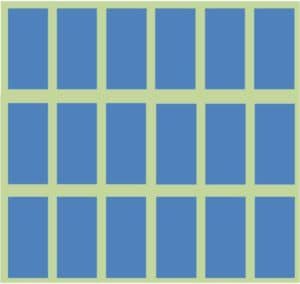
What we want is for is the blue rectangles to be inside the frames. This is done through REGISTER CONTROL. If you are interested in this and would like to know about register control you may ask for this by making a comment at the end of this post. You’ll be surprised!
Once the register control is adjusted, the paper coming out of the second printing unit looks like this:
Now that’s more like it!
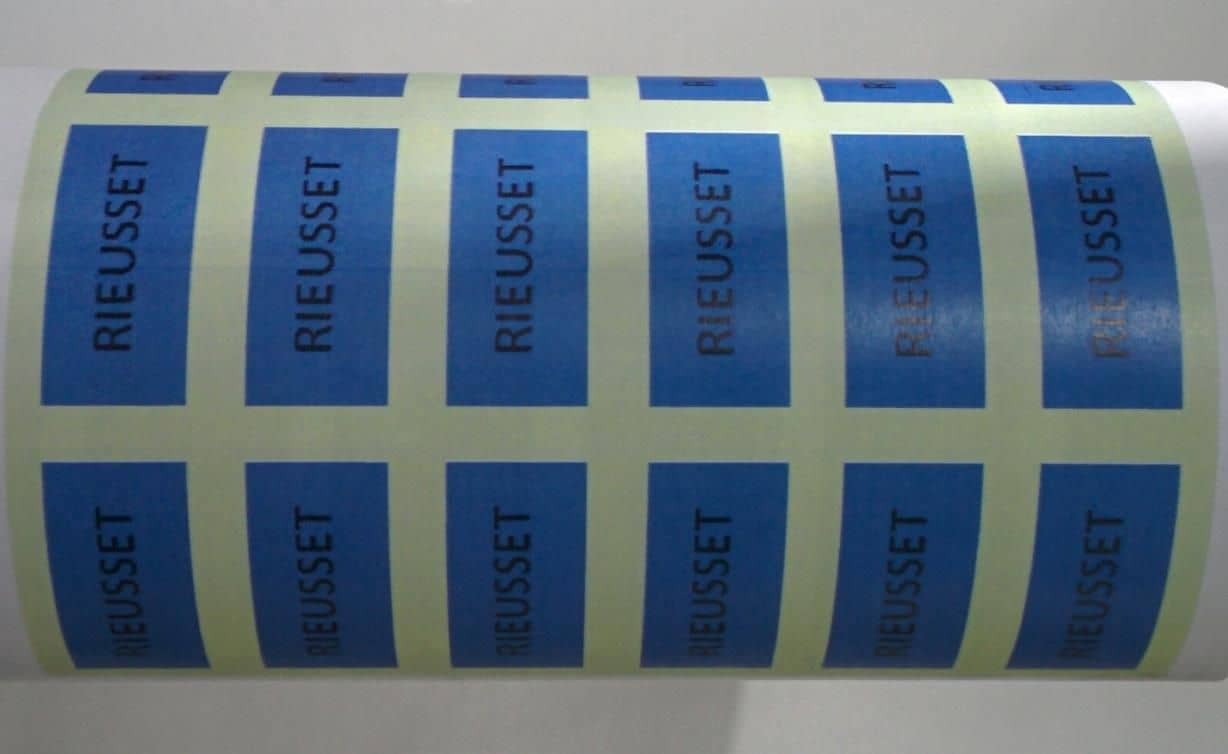
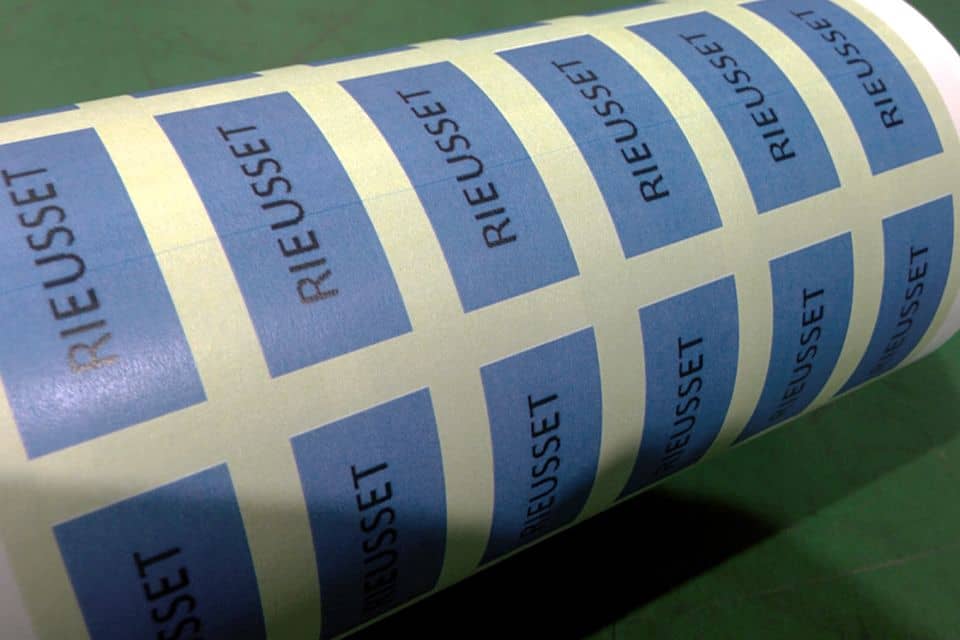
6.The same step is carried out once more but in the third printing unit where we print the black letters that spell RIEUSSET, thus getting a continuous print of 6 Rieusset labels across, and thousands or millions (depending on the amount of labels the customer asks for) in length.
7. Finally the printed paper is rewound until it forms a roll that is 1 meter in diameter. At this point the machine does an automatic roll change in order to make one roll after another until reaching the amount requested by the customer.
This roll has now become semi-finished material which is waiting to go into the subsequent sheeting process.
How do we convert this roll into single labels that we send to the customer? We’ll see in our next post … Don’t miss it!
| We Manufacture: | Meet Rieusset: |
